
Karlstad on fire
On 2nd July 1865, a fire broke out in a bakery in the city of Karlstad. When the fire broke out, many of the 5000 residents were attending the Sunday service in the church.
The fire spread quickly among the wooden houses and narrow streets. It couldn’t be stopped. People threw their belongings out of windows and ran to the church. When the church steeple caught fire, they had to move on to Sandgrundsudden.
By nightfall almost everything had burnt down. Only 7 of 21 residences were left standing as well as the bishop’s residence, the church (minus the steeple) and the college building. They also managed to save the bridge over the Klarälven river. The city profile now mostly consisted of a collection of chimneys.
Of the 5000 residents, 4500 were left homeless in a city full of ashes and mud after the fire and the rain which fell at the end of the day.
In the next days and weeks, a city of tents was raised and building soon began on wooden barracks to house the homeless…

OCA student Gwenyth Wilson Rudstrom created a piece of art for the annual Festival of Fire in Karstad, Sweden. The work was based on a photo of the city of Karlstad taken in the days following the great fire. The picture is engraved in three pieces of plexigalss using an engraving needle mounted in a DREMEL. The work is lit from underneath with LED strips and mounted in a wooden base. The finished art piece is 2.10 meters long. Gwenyth called it “After the Fire”.
I asked Gwenyth to explain the process of making, including finding a sponsor;
“I needed to make some sort of upper construction that would match the theme and show up in the dark. Among other things someone suggested Plexiglass. I went searching on the web for Plexiglass art and found lots of wonderful things, among others a sign that was engraved in Plexiglass and lit from underneath. The theory is that the light goes up through the Plexiglass and only shows where the surface is broken where it is engraved. On YouTube I found videos describing how to make such a light. By now I had begun to realise that I could do something using that technique, only much bigger. I worked out that I would need a box that fit on top of the base and in which the LED strips and transformer would be placed.
I made some technical drawings in order to be able to estimate the amount of material needed and a cost estimate. The project manager needed to know how many electrical sockets and how many watts I would need. I needed to show how I would demount the top construction from the base to facilitate transport from the workshop to the park and back.
We had a limited budget and I realised that I needed sponsors for both the Plexiglass and the LED strips with a transformer. Because the art work was being shown to the public outdoors, and there would be below-zero temperatures with snow or rain, certain safety specifications had to be met in order to ensure public safety. I made a Powerpoint presentation and headed off to some local companies to ask for sponsoring. One local firm donated three sheets of four centimetres thick Plexiglass. Two of the sheets were 75 cm wide and one was 70 cm wide. All were 65 cm high. Another local firm donated the LED strips and matching transformer.
Now I had decide what picture to engrave in the Plexiglass. There were several of photos of the city after the fire on the local historical archive web site. I chose one and checked with the project manager and historical society that it was OK to use it. The pictures are 150 years old, so there was no copyright problem. I engraved a simplified version of the picture into the thinner Plexiglass in the model with a dry point engraving tool. I use this tool to patterns into plastic materials for dry point printing.
I had realised when I made the model that there was no way I could engrave the full-scale product within the set time frame by hand in the way that I had done the model. I needed some sort of mechanised tool for the engraving. My husband had a DREMEL tool and so I headed off to the hardware store and bought some engraving needles to install in it.

In my computer, I enlarged the photo of the burnt-out city to a size that would be a total of two meters long and fit across my three sheets of Plexigalss. Before I printed it, I mirrored the picture because I would be doing the engraving on the back of the Plexiglass sheet. I only had an A3 printer so it was a big job to stick all the printed sheets together to make the final picture. I decided where the picture would be broken across the three sheets of Plexiglass and overlap a little.
I lay the picture on my work table, a sheet of Plexiglass on top, and taped it all in place. I left 13 cm empty at the bottom of each sheet because I knew that I was going to make the light box 15 cm deep. Now I could start engraving. I had never used a DREMEL tool before so it was a completely new experience. The photo was in shades of grey but I only had engraved (which would be light areas) or not engraved (which would be dark areas to choose between so it required quite a bit of thought. When I look at the three sheets now, I can see how I got better at managing the techniques as I went along and learnt how to use both the tool and the engraving technique. It took about 35 to 40 hours to engrave the three sheets of Plexiglass.
My piece of art “After the Fire” remains on show in the Karlstad Universty workshop.”

Students wanting their work featured on WeAreOCA should email blog@oca.ac.uk
All submissions will be acknowledged and reviewed but we cannot promise all work submitted will be featured on the blog.
4 thoughts on “Karlstad on fire”
Leave a Reply
> Next Post In conversation: Hagar Vardimon
< Previous Post What are your words worth?
Drawing Department 2023 Assessment Showcase
8 Comments
As Programme Leader for the BA (Hons) Drawing Degree I am really pleased to...
Read more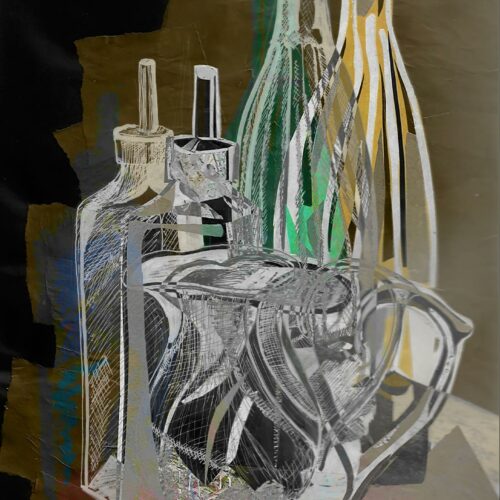
Introducing our Interior Design External Examiner, Marianna Velissaropoulou
3 Comments
With assessment events held regularly three times a year, many of you will be...
Read more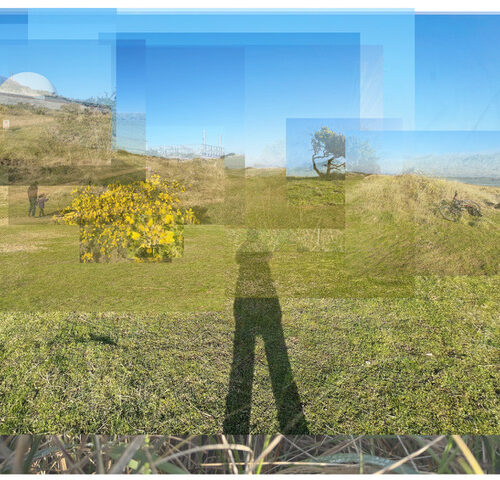
Student Stories: Julia McLean
2 Comments
OCA Photography Program Leader Dan Robinson caught up with Julia McLean about her experience...
Read more
Creative Arts Showcase 2023
2 Comments
The Creative Arts Showcase is now in its third year and is an end...
Read more
I fall under the category defined, I believe, by George Bernard Shaw as someone “..who knows nothing about art but I know what I like” I definitely like this. It speaks to me.
Excellent work Gwenyth. It’s good to read about how the difficulty of the making process impacts on the thing being made. I love the straight forward tone of the piece, too. What you did, how you did it. Top stuff.
And, you know, it LOOKS great.
This is wonderful. Well done you.
It’s lovely. This is the printmaking technique ‘drypoint’, historically done on copper but now often done on plastic sheet with a Dremel. So, once you have finished exhibiting it, why not print it? Double the value!